Your cart is currently empty!
Top Best Project :Cycle Store Project with Admin Panel using PHP and MySQL
Introduction
Creating a cycle store project with an admin panel is an excellent way to practice your web development skills. This project will teach you how to pair front-end technologies (HTML, CSS, and JavaScript) with back-end technologies (PHP, MySQL). By the end of this tutorial, you’ll have a fully functional cycle store website featuring an admin panel for managing products, orders, and users.
Cycle Store Project with Admin Panel [HTML, CSS, PHP, JavaScript, MySQL]
New Project :-https://www.youtube.com/@Decodeit2
Step 1: Making the Project
To begin with, we need to set up the project structure. Create a new directory for your project and inside this directory, create subdirectories for different components like HTML, CSS, JavaScript, and PHP files.
- Project Structure:
index.html: Homepage of the cycle store.admin.html: Admin panel login page.styles/: Folder for CSS files.scripts/: Folder for JavaScript files.php/: Folder for PHP scripts.db/: Folder for SQL scripts.
🔧 Database Setup:
- Create a MySQL database using tools like phpMyAdmin.
- Establish tables for users, products, and orders.
🎨 HTML & CSS:
- Develop front-end interfaces with HTML and CSS.
- Ensure responsiveness and user-friendliness for both customers and admins.
🖥️ PHP & MySQL:
- Employ PHP for server-side functionalities such as authentication, product management, and order processing.
- Connect PHP scripts to the MySQL database for data retrieval and storage.
💻 JavaScript:
- Utilize JavaScript to enhance website interactivity.
- Implement features like form validation, dynamic content updates, and AJAX requests for smoother user experiences.
Step 2: Essential Features
Your cycle store project should include the following essential features:
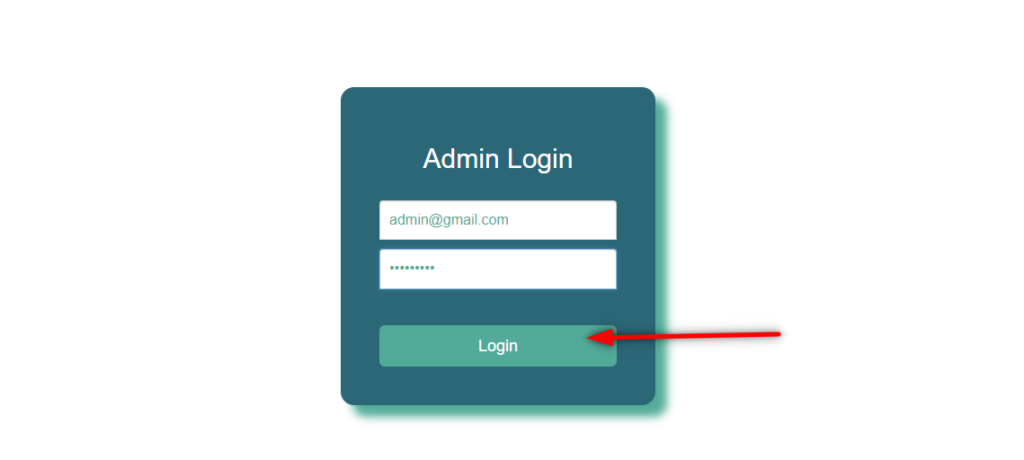
- User Authentication:
- Registration and login system for customers.
- Admin login with elevated privileges.
- Product Management:
- Admin can add, edit, and delete products.
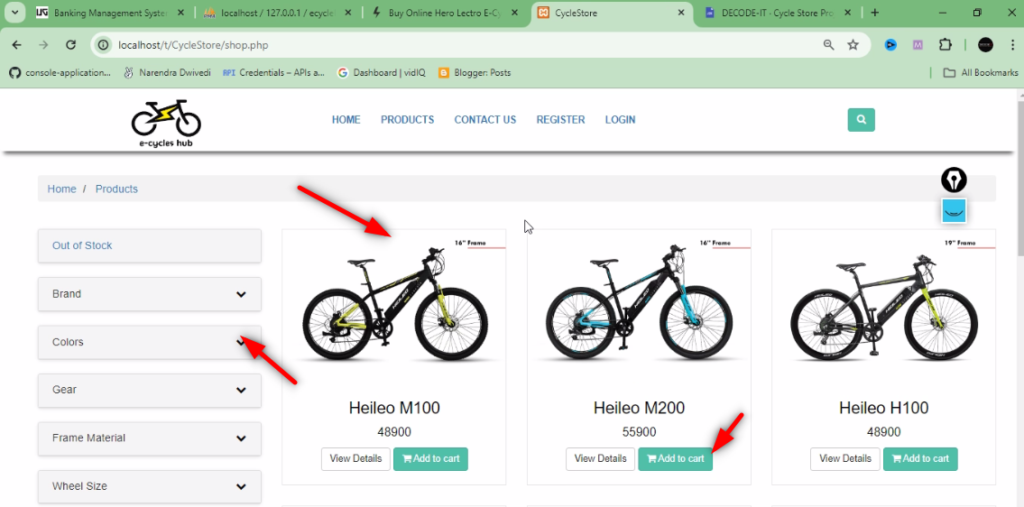
- Customers can browse and search for products.
- Order Processing:
- Customers can add products to the cart and place orders.
- Admin can view and manage orders.
- Responsive Design:
- Ensure the website is mobile-friendly and responsive.
- Security:
- Implement basic security measures like input validation and SQL injection prevention.
Step 3: Required Software and Tools
To build this project, you will need the following software and tools:
- Code Editor:
- Visual Studio Code, Sublime Text, or any other code editor.
- Web Browser:
- Google Chrome, Firefox, or any other modern web browser for testing.
- Server Environment:
- XAMPP or WAMP to set up a local development server.
- Database Management:
- phpMyAdmin for managing the MySQL database.
Step 4: Running the Project
Installation/Setup/Run Remotely
- Convenient Remote Access: Access our services from home using Zoom, AnyDesk, or Google Meet.
- Error-Free Guarantee: Our team ensures your project runs smoothly without any mistakes.
- Clear Output: Get detailed videos showing how your project performs.
- No Hassle: Forget about complicated setups; our remote service is simple and saves time.
- Personal Help: We’re here to support you every step of the way.
- Go Beyond: With remote services, your project isn’t limited by location.
Step 5: Project Screenshots
To give you a better idea of the final product, here are some screenshots of the project:
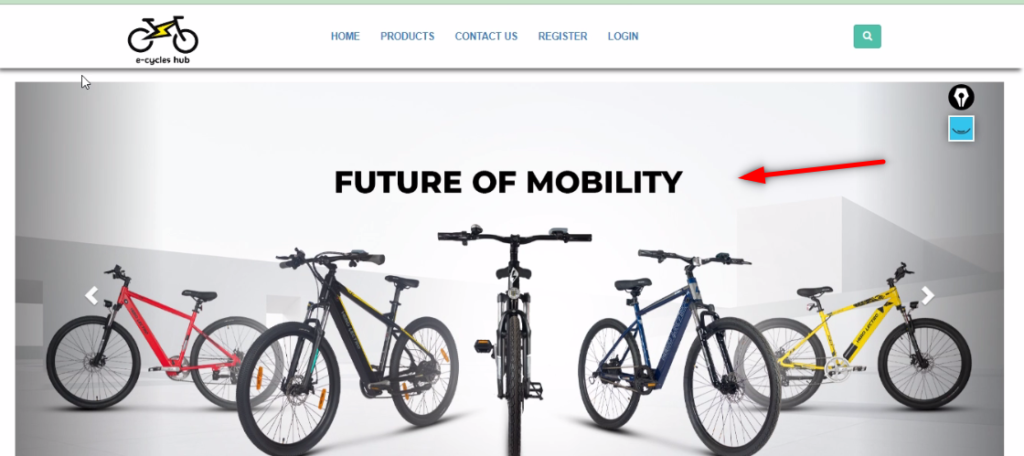
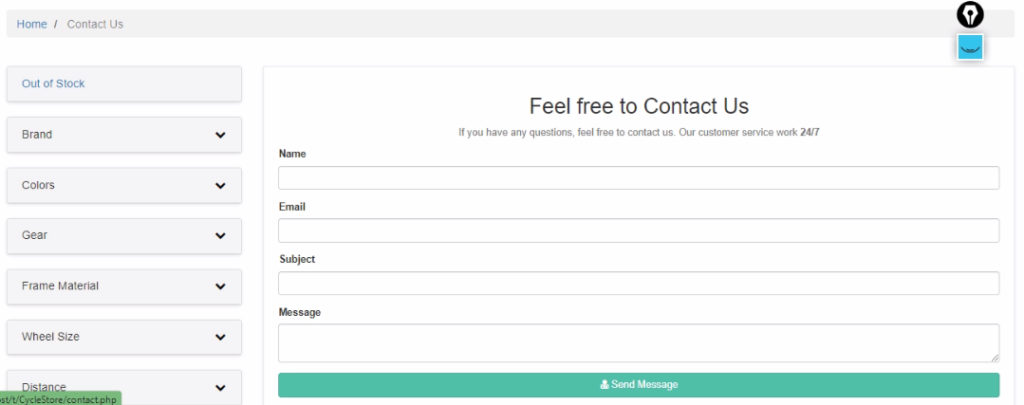
- Homepage:
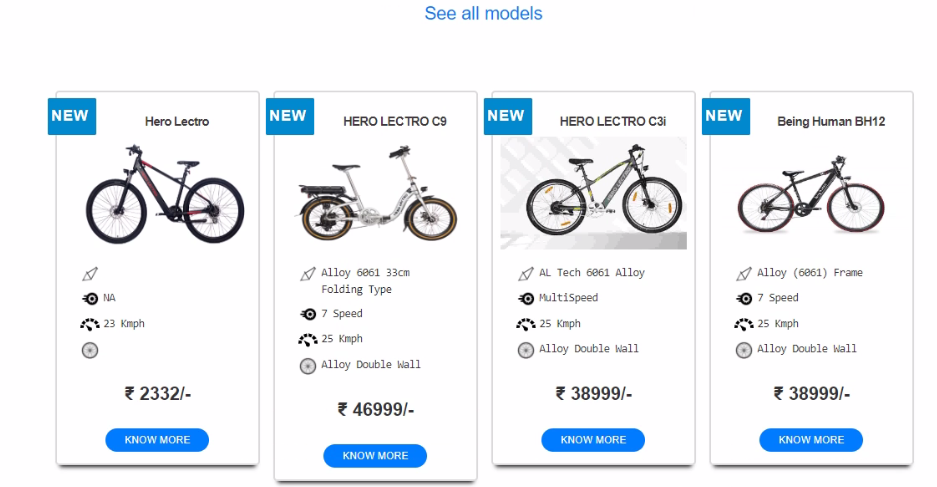
- Product Listing:
- Product Details:
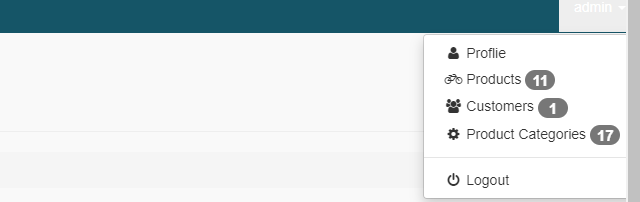
- Admin Dashboard:
- Admin panel with options to manage products, orders, and users.
- Order Management:
- Admin interface for viewing and processing customer orders.
Step 6: Download Project
You can purchase the complete project files and source code by clicking the link below:
- This project offers premium quality at an affordable price.
- I charge a small fee for my time, ensuring you save both time and effort.
- Once purchased, I can quickly set up the project on your system.
- Save your time and let us handle the work for you.
Project Price Details :- Click Here
New Project :-https://www.youtube.com/@Decodeit2
Download All Free Project :- Click here
Tags and SEO
Tags: Cycle Store, Admin Panel, HTML, CSS, PHP, JavaScript, MySQL, Web Development, E-commerce Project, Responsive Design, User Authentication
SEO:
- Cycle Store Project
- Admin Panel with PHP and MySQL
- E-commerce Website Development
- HTML CSS JavaScript Projects
- Web Development Tutorials
- Responsive Web Design
- User Authentication System
Share this content:
Comments
4 responses to “Top Best Project :Cycle Store Project with Admin Panel using PHP and MySQL”
[…] Top Best Project :Cycle Store Project with Admin Panel using PHP and MySQL […]
[…] Top Best Project :Cycle Store Project with Admin Panel using PHP and MySQL […]
[…] Top Best Project :Cycle Store Project with Admin Panel using PHP and MySQL […]
[…] Top Best Project :Cycle Store Project with Admin Panel using PHP and MySQL […]
Leave a Reply to OLX Clone Using React.js Free Source Code Cancel reply